Hvordan gjøre negler hjemme med dippi – Steg for steg guide
📦 Før du starter: Oppbevaring og miljø
Oppbevaring:
Oppbevar produktene på et kjølig og tørt sted
Hold unna sollys
Påføring:
Sørg for at du jobber i romtemperatur
Ha godt lys – et godt opplyst miljø gjør hele forskjellen
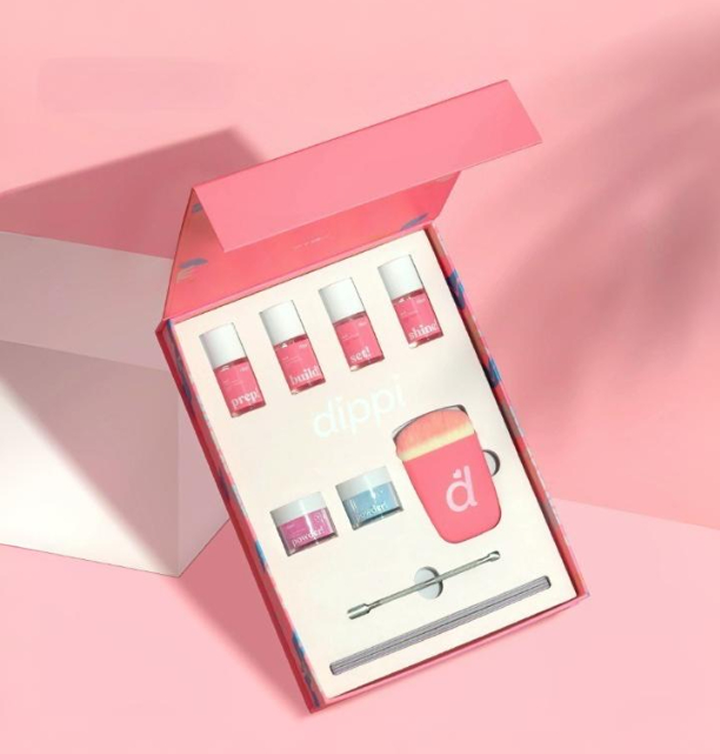
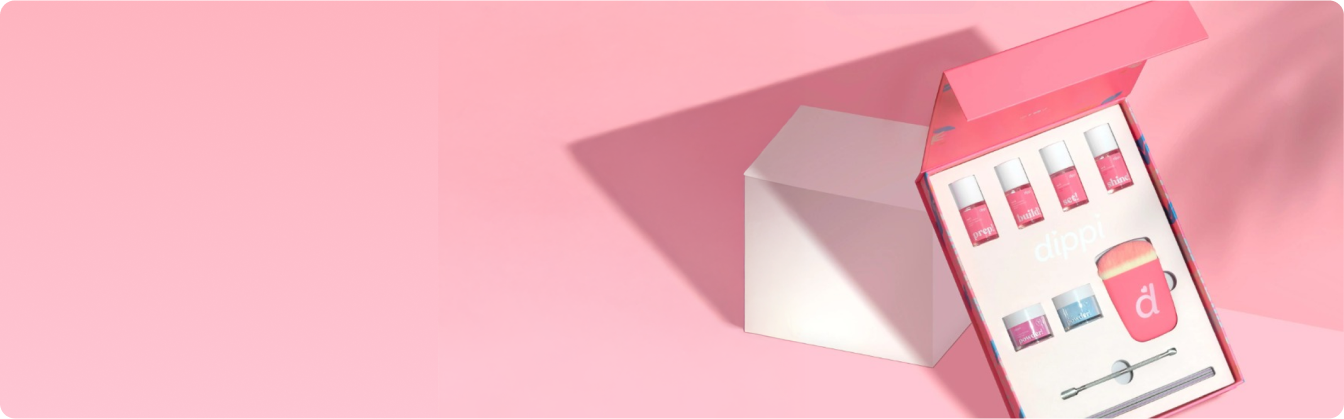
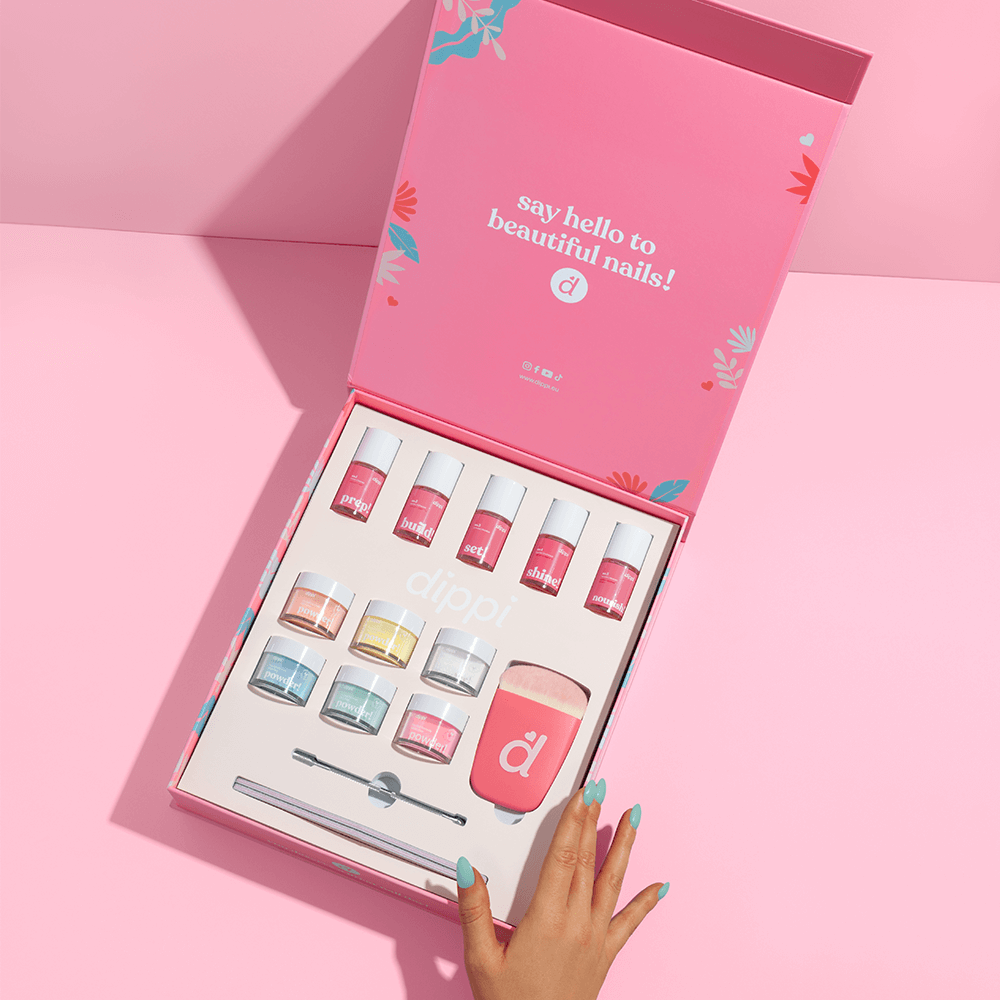
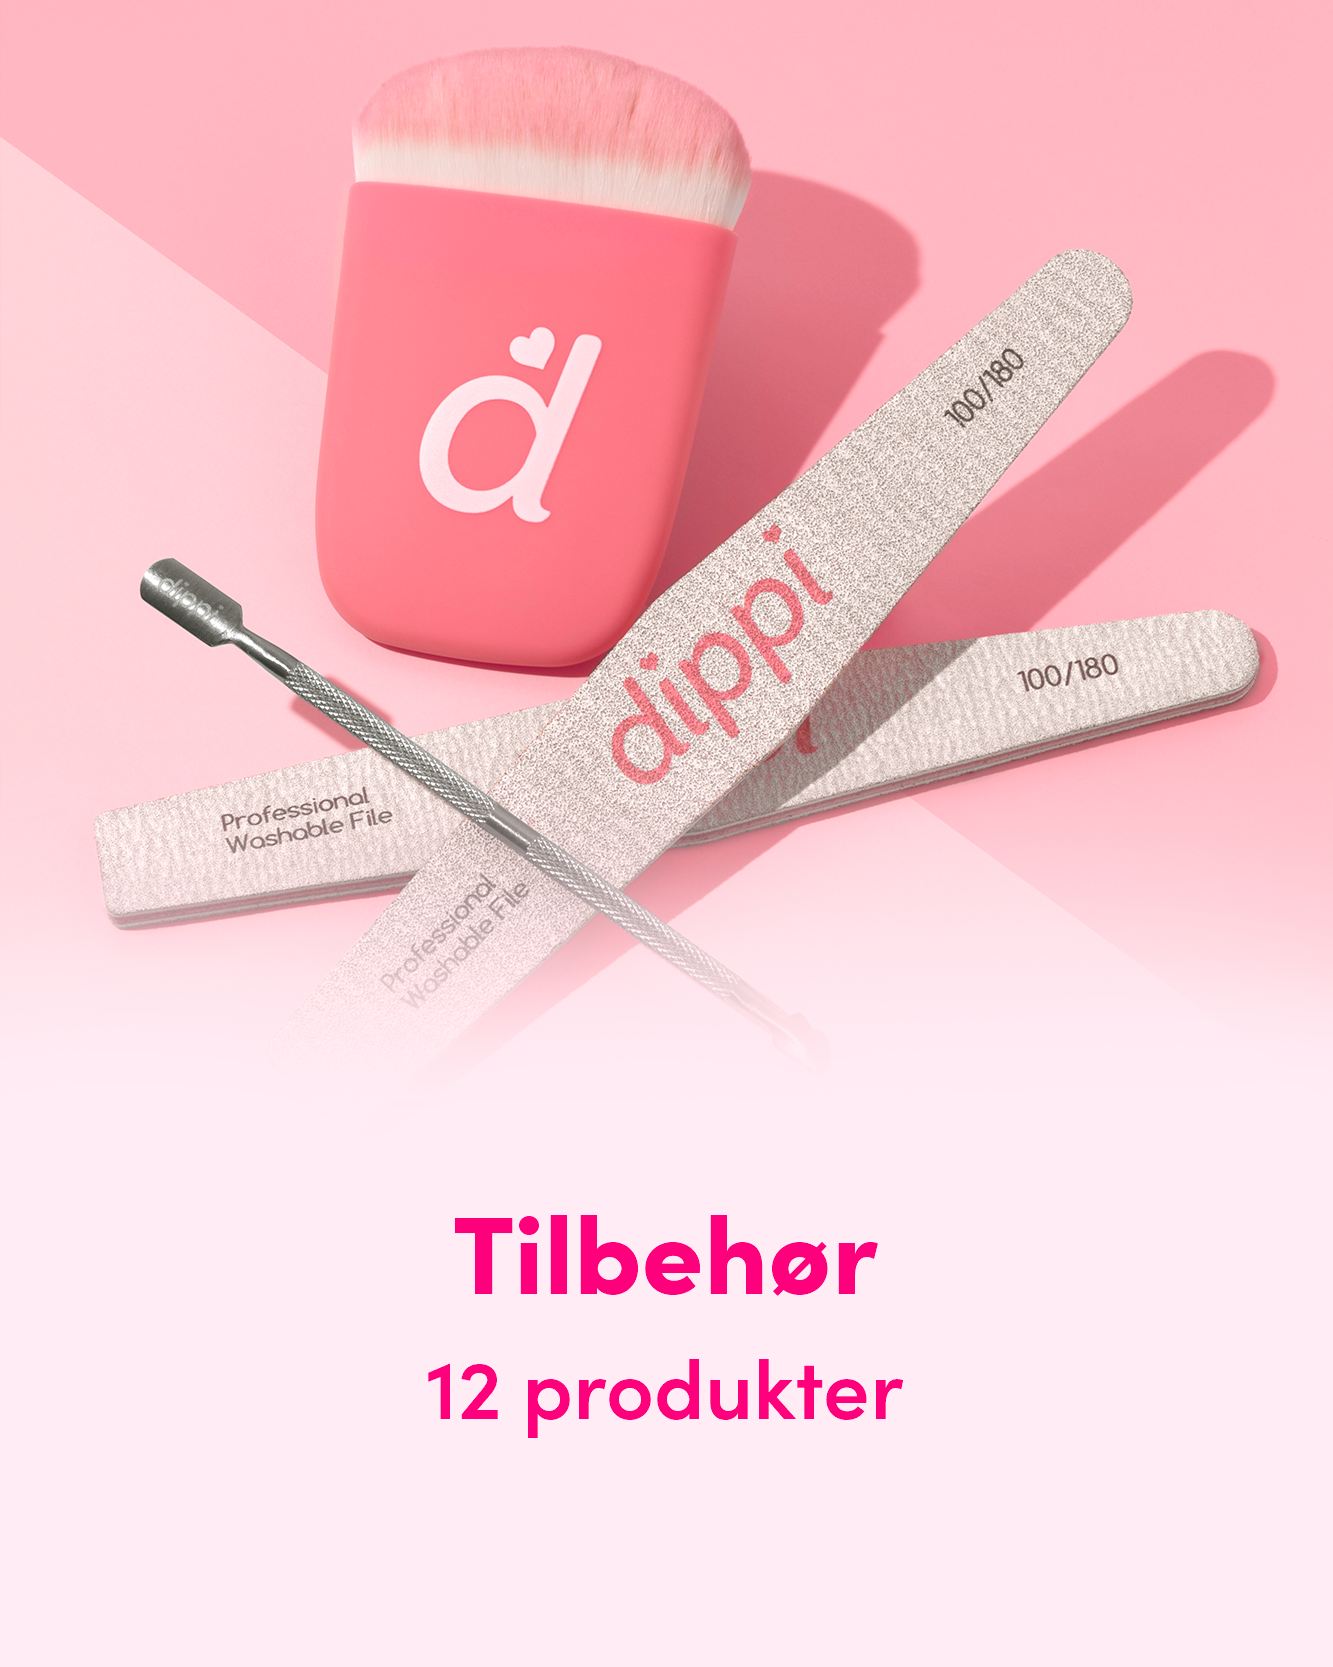
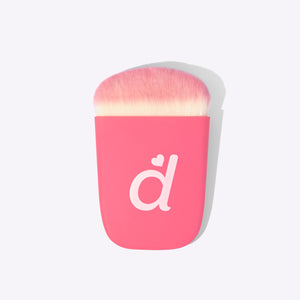
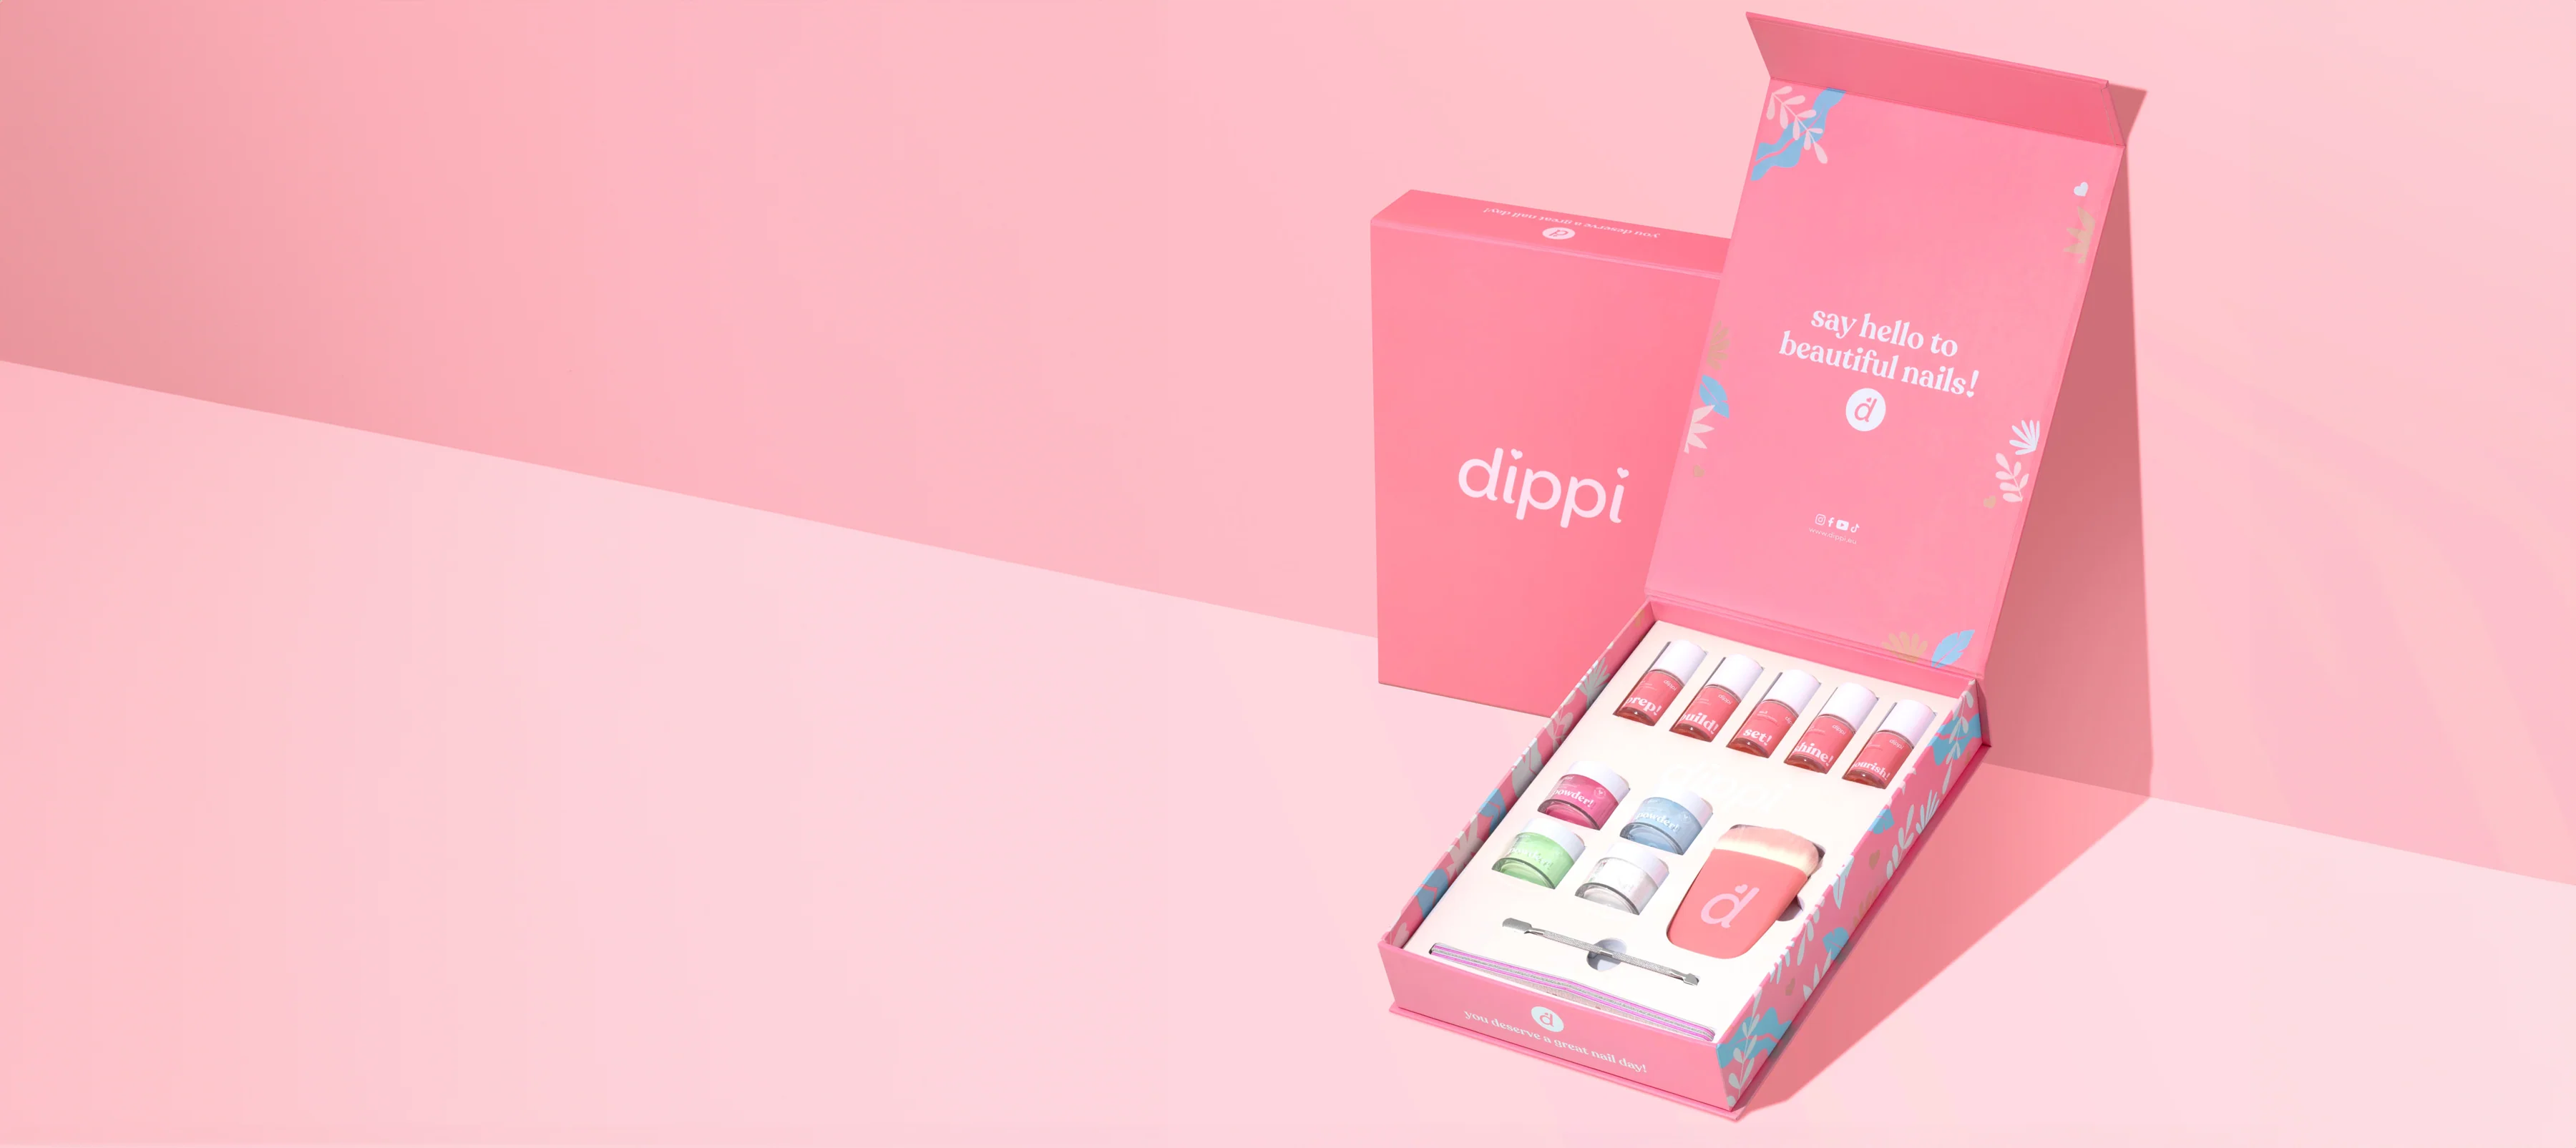
Dette trenger du:


💡 Tips før du begynner
Plasser beskyttelse på neglestasjonen for enkel rengjøring
Ikke bruk noe med lo rundt påføringsområdet, som servietter
Påfør en liten prøvetest på én finger dagen før for å sjekke for allergier
Oppbevar produktene utilgjengelig for barn
🔨 STEG 1 – BUILD
1.1 Prepare the tool
Find your cuticle pusher.

1.2 Push back cuticles
Use the spoon-shaped side of the cuticle pusher to gently push back your cuticles. This helps ensure good adhesion and a long-lasting result.

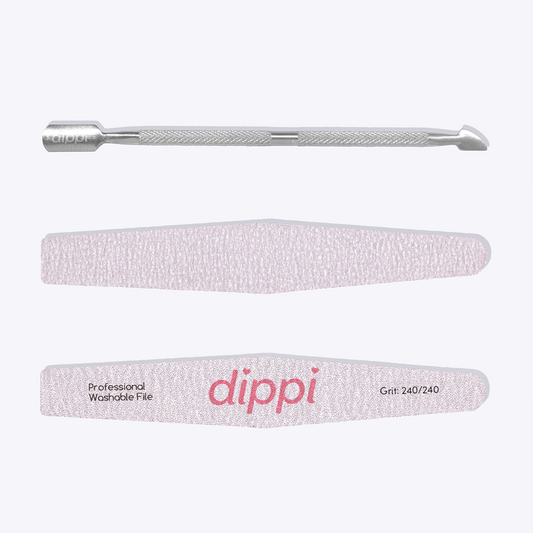
1.3 Shape your nails
Use your Deluxe Nail File 180 to gently shape the free edges.

1.4 Remove shine
Use the 240 grit file to gently file the surface of your nails. File just enough to remove the shine but not damage the nail.

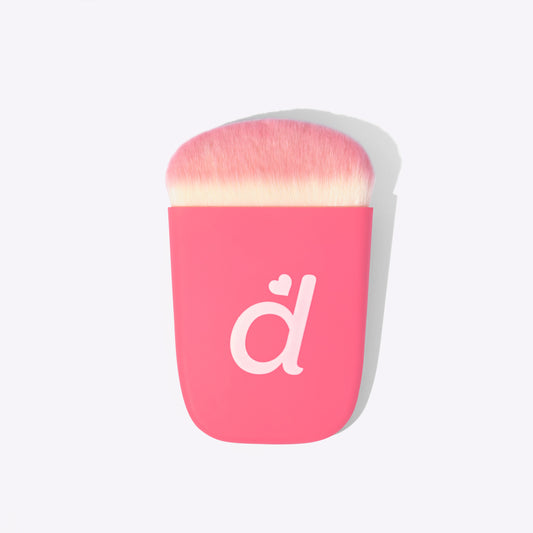
1.5 Clean your nails
Gently brush away any excess with a clean brush.

1.6 Optional: Prep
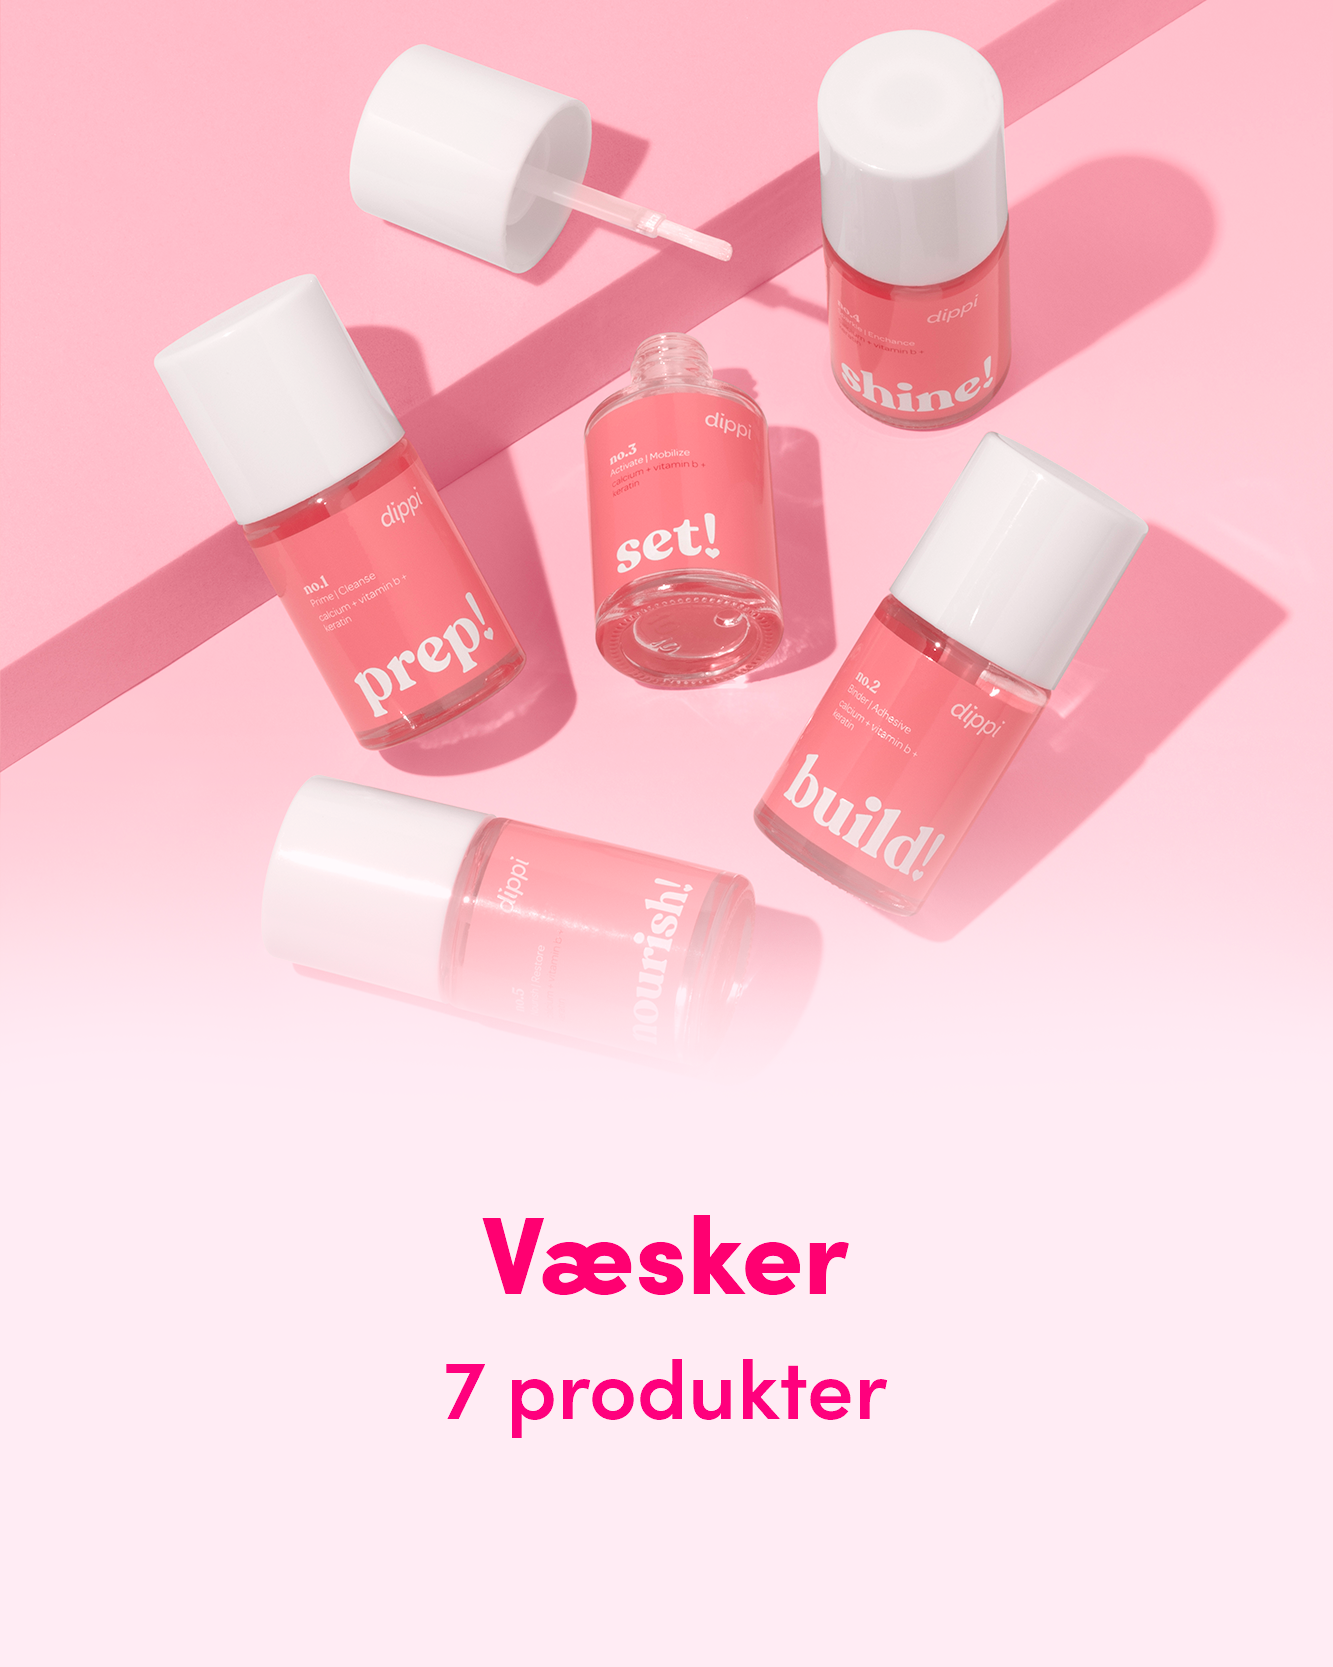
Apply Prep generously to all nails to dry out and remove any oils. This is especially helpful if you have naturally oily nails.

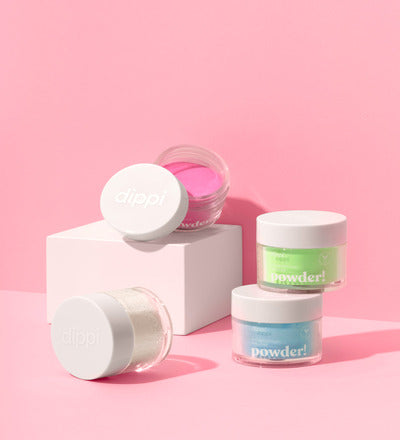
💅 STEP 2 – DIP
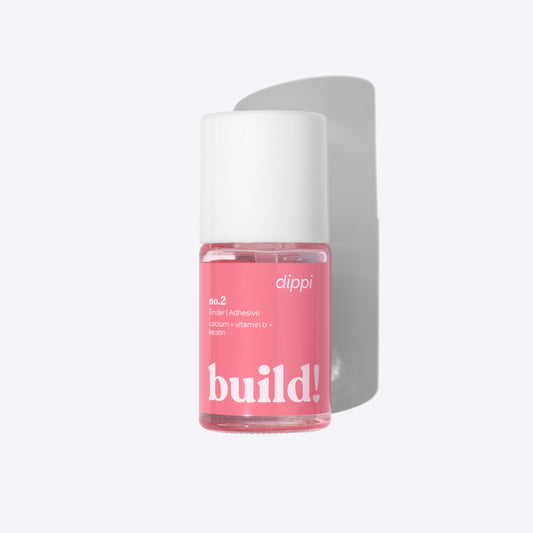
2.1 First layer: Clear
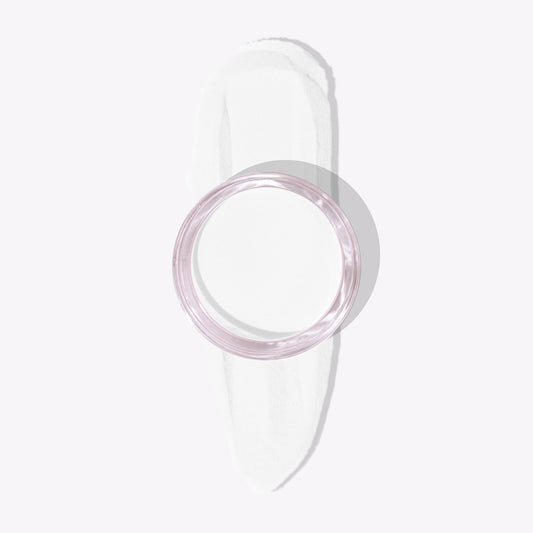
Apply Base and dip the nail in Clear powder . If you don't have Clear, you can use the color powder instead.
-
Avoid skin and edges – the powder will stick where the liquid touches.
-
Repeat the process on each finger.
-
Gently brush away excess powder.
-
Use the cuticle pusher with the pointed end to pull along the edges and release the manicure from the skin

2.2 Second layer: Color
Apply a thin layer of Base a little closer to the cuticle, and dip in the color powder.
PRO TIP: Apply gradually closer to the cuticle with each layer to avoid build-up.
-
Brush away excess powder and use the cuticle pusher around each nail

2.3 Third layer: Color
Repeat the same process, but this time apply all the way up to the cuticle line.
-
Repeat for each finger.
-
Brush away powder and use the cuticle pusher

2.4 Last team: Clear
Apply a thin layer of Base and dip in Clear again.
-
If you don't have Clear, use your color again
-
Brush away excess powder and use the cuticle pusher to round off the edge.

✨ STEG 3 – SHINE
3.1 See the manicure
Apply the first layer of Set to each nail.
-
Let dry for 2–3 minutes.
-
Shape and smooth your nails with the Deluxe Nail File 180
-
Beginners may experience some lumps – that’s completely normal! Practice makes perfect
-
File and polish your nails thoroughly for best results.
-
Brush your nails clean
-
Apply a generous second coat of Set and wait 2–3 minutes

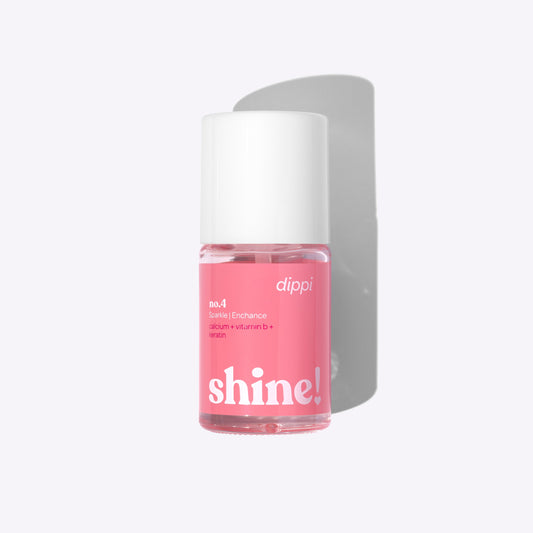
3.2 Glans
Apply the first coat of Shine in quick, light strokes.
-
Repeat for all nails.
-
Wait 2-3 minutes and apply a second, slower coat for extra shine

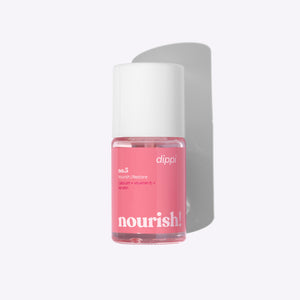
3.3 Industry
Last step – nutrition!
-
Apply Nourish around each cuticle
-
Massage in gently without touching the nails.

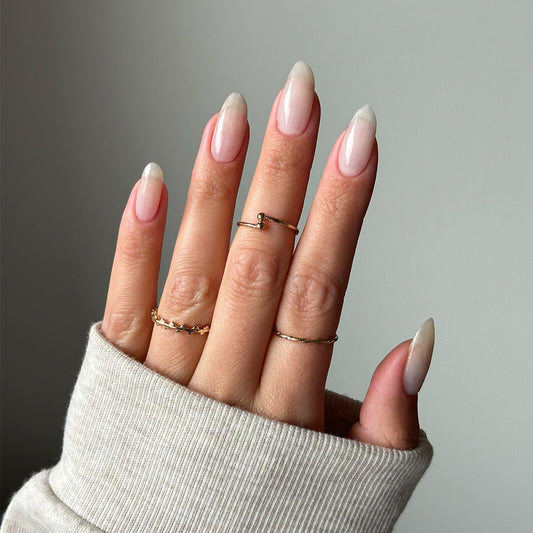
💖 Voila!
You now have a salon-perfect manicure – right from home.